
Recently we posted How to Install Raspbian and BitScope on Raspberry Pi. Since then, several people have told us there's an easier way so we thought we'd document it here.
First, if you've not already set up your Raspberry Pi, you will need to install Raspbian. For this, please refer to our earlier post about how to do this using NOOBS and then return here.
When Raspbian is up and running, fire up the default Midori web browser and grab the BitScope DSO package via the download menu on the BitScope Pi Home Page.
The first few steps are the same as before but when you download the package file the procedure is a little different.
Choose BitScope DSO from the Download menu as before:
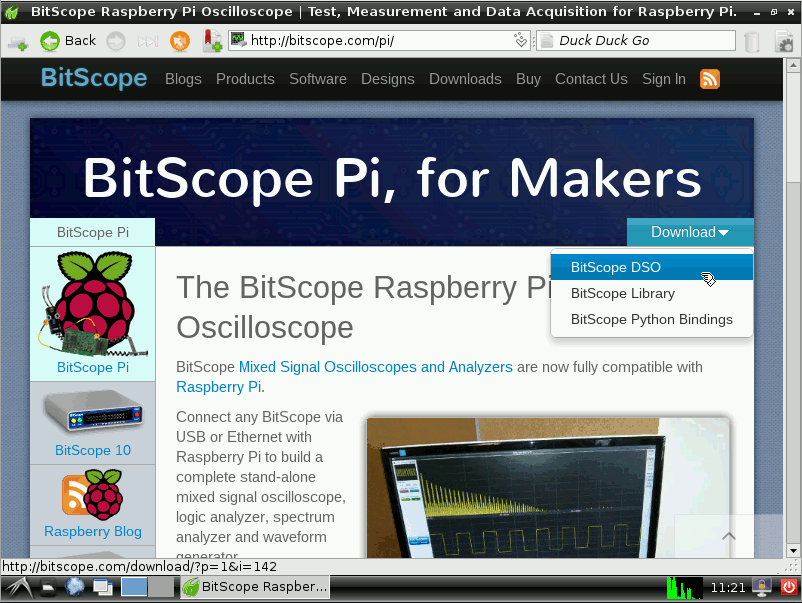
Click the Download button to select the BitScope DSO package.
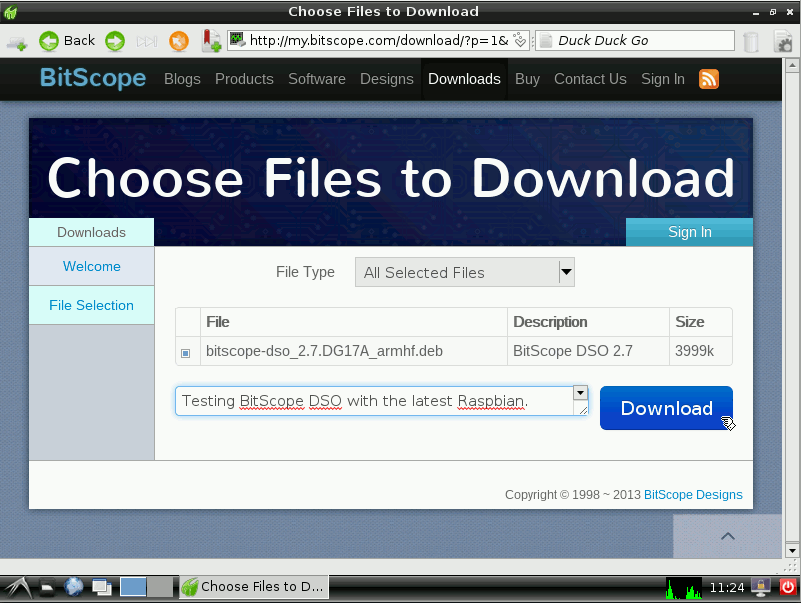
Click the Download link to download it. At this point we change from the previous procedure. Save the package file to the default location (i.e. it saves to /home/pi instead of /tmp as before).

When the download is complete, open the file manager and you should see the package like this:

Right-Click the package file and choose Open with...

Select the custom command line tab, enter sudo dpkg -i and click OK.
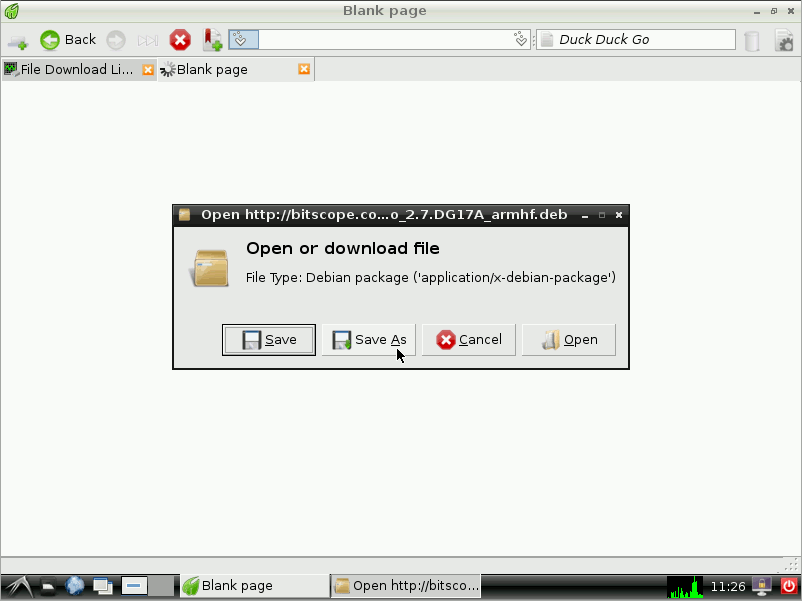
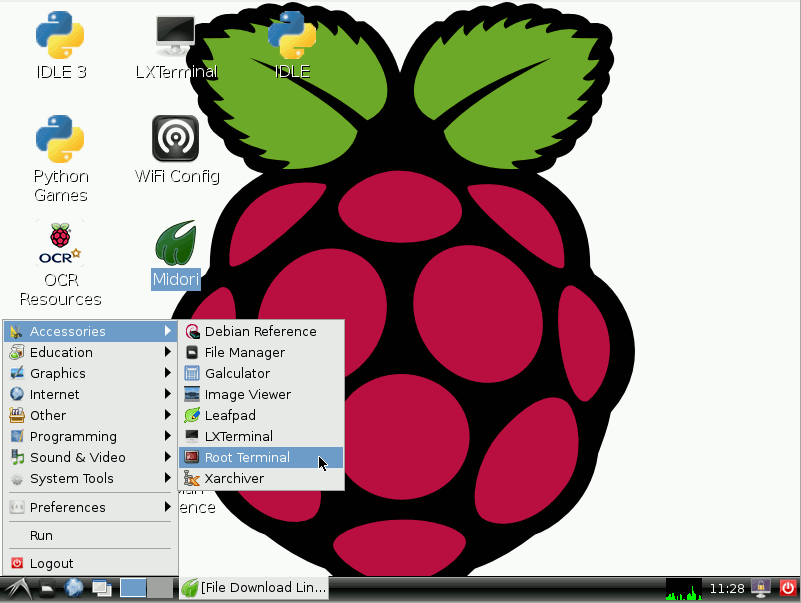
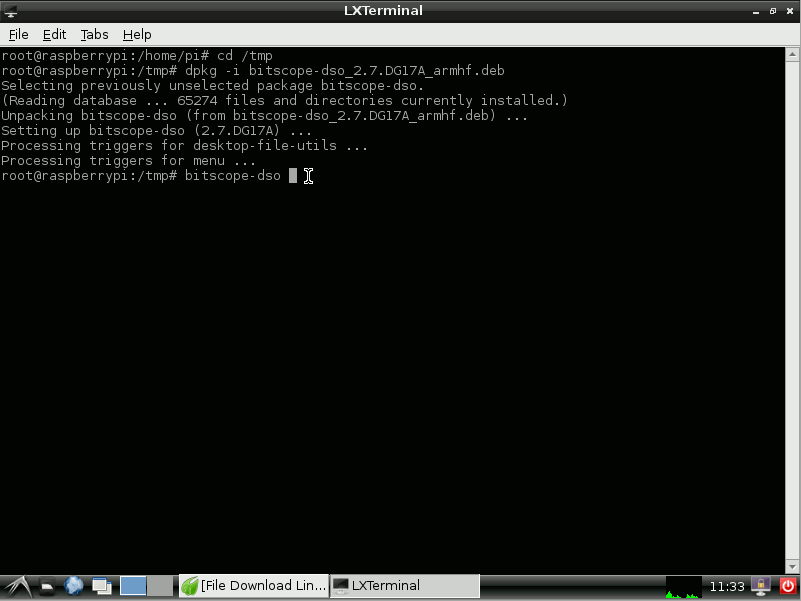
This (silently) installs BitScope DSO. We're not sure why there is not an automatic handler to do this built into the Raspbian release. Perhaps there is? Anyway, BitScope DSO should now be installed and you can select it via the main menu as shown below. Note that there are two menu items. This is because the default BitScope DSO package belongs to several application categories which all seem to map to Other in Raspbian.
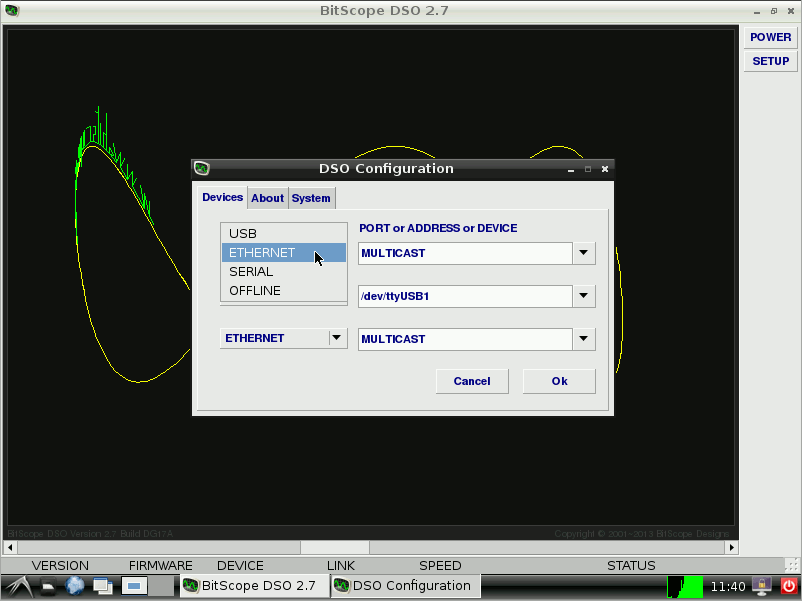
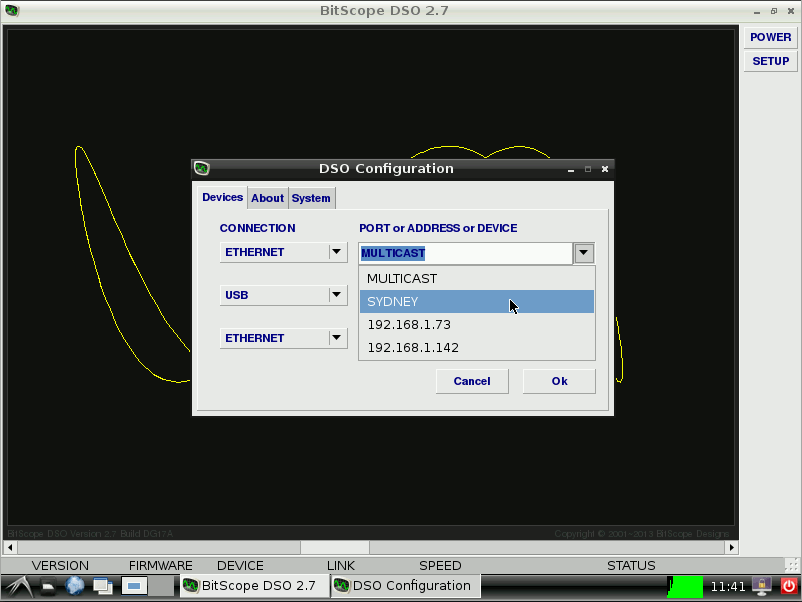
BitScope DSO should then start up showing its splashscreen. If you have BitScope, connect it to a spare USB port on the Raspberry Pi (or via a HUB or via your ethernet LAN if you're using a network model) and click POWER. If you don't have a BitScope but your RPi is connected to the Internet, click POWER and connect to our demo BitScope in Sydney.
Click OK:
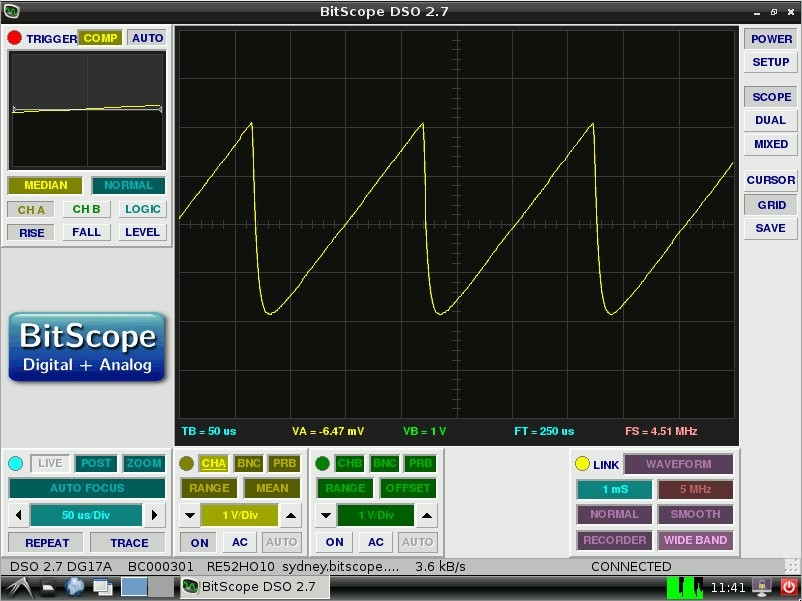
At this point you should be up and running like this (connected to Sydney in this example):
For an example of a setup that shows you what it should all look like, see our Electronic Projects Lab for Raspberry Pi post from yesterday.